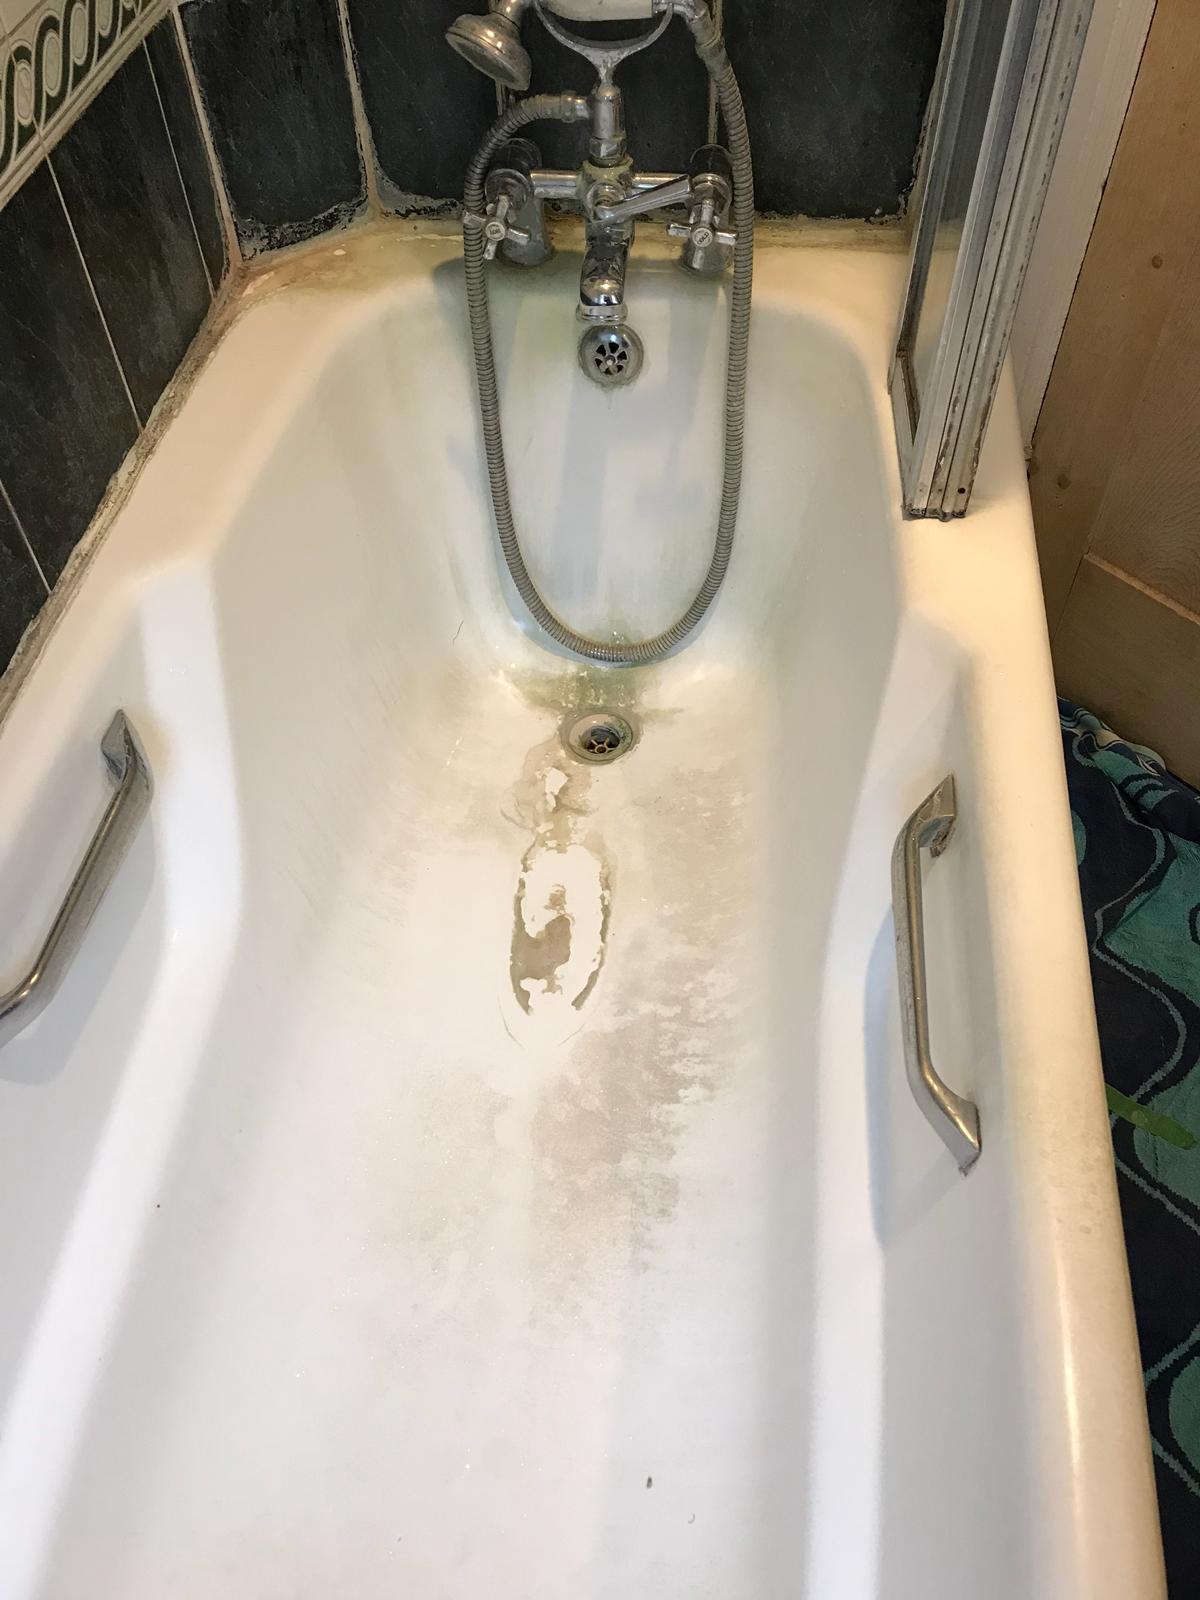
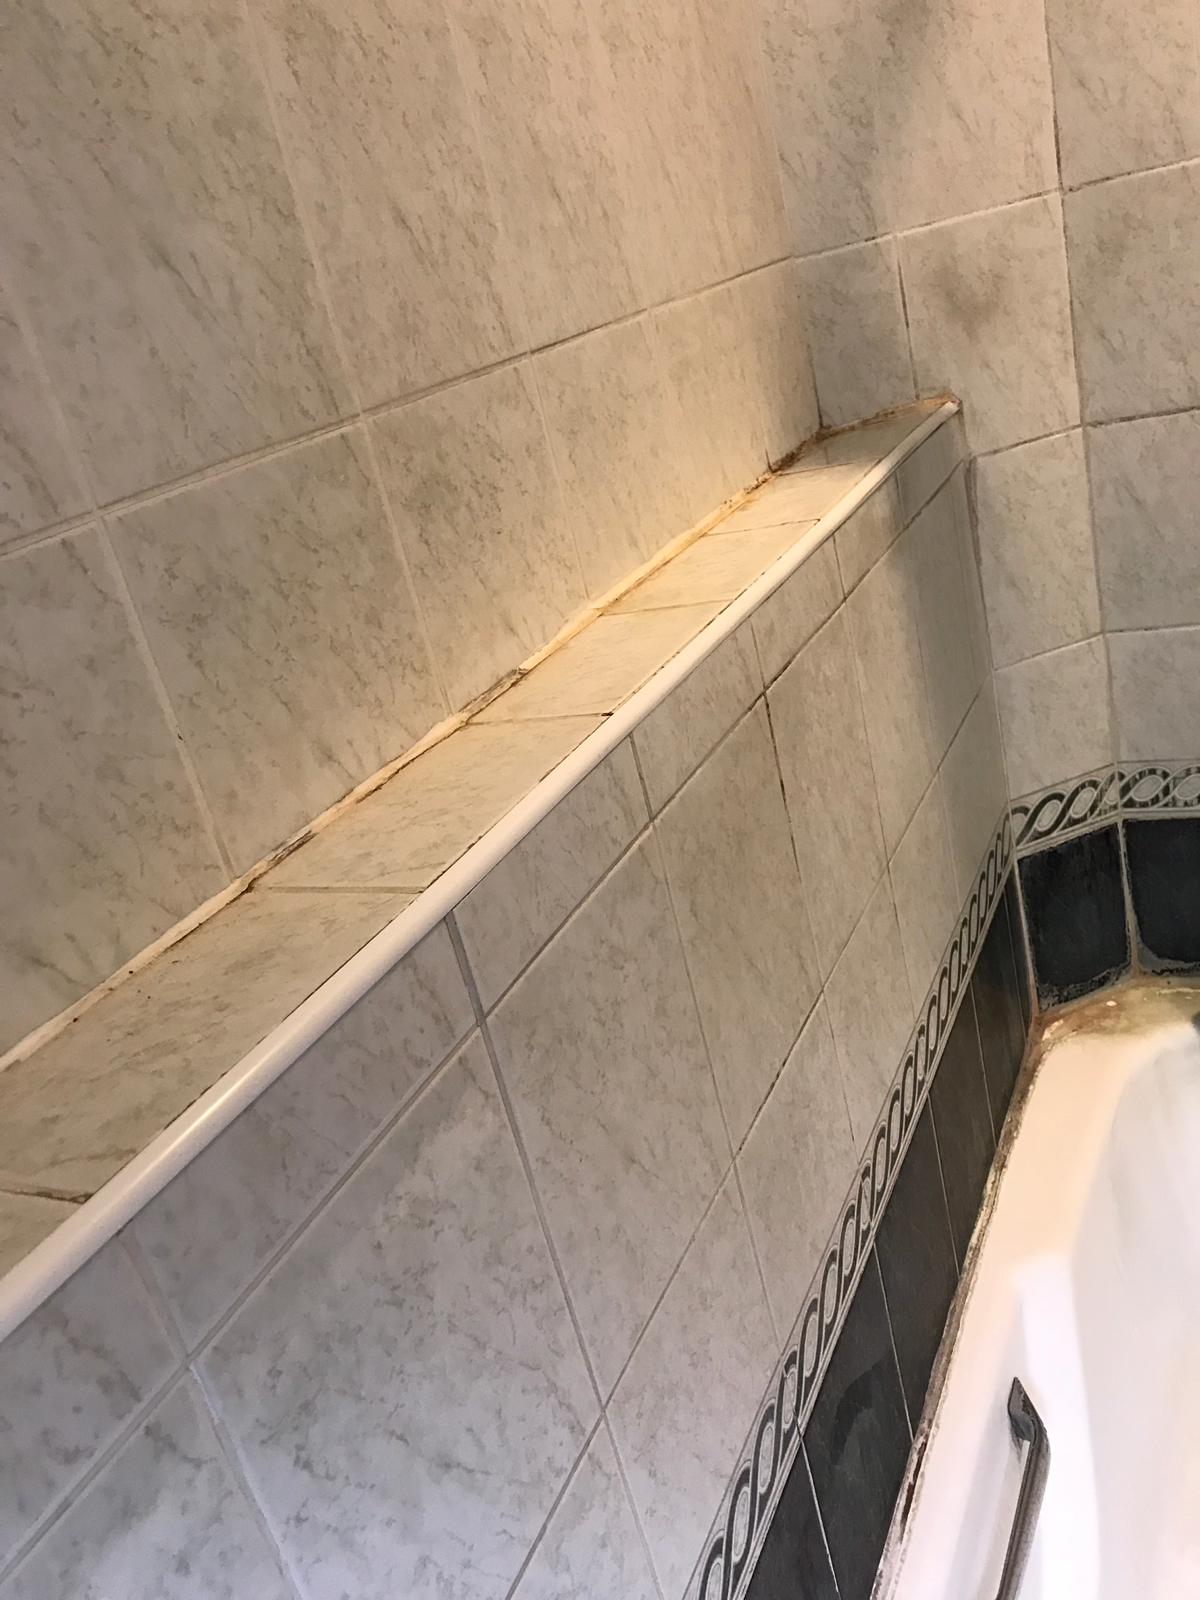
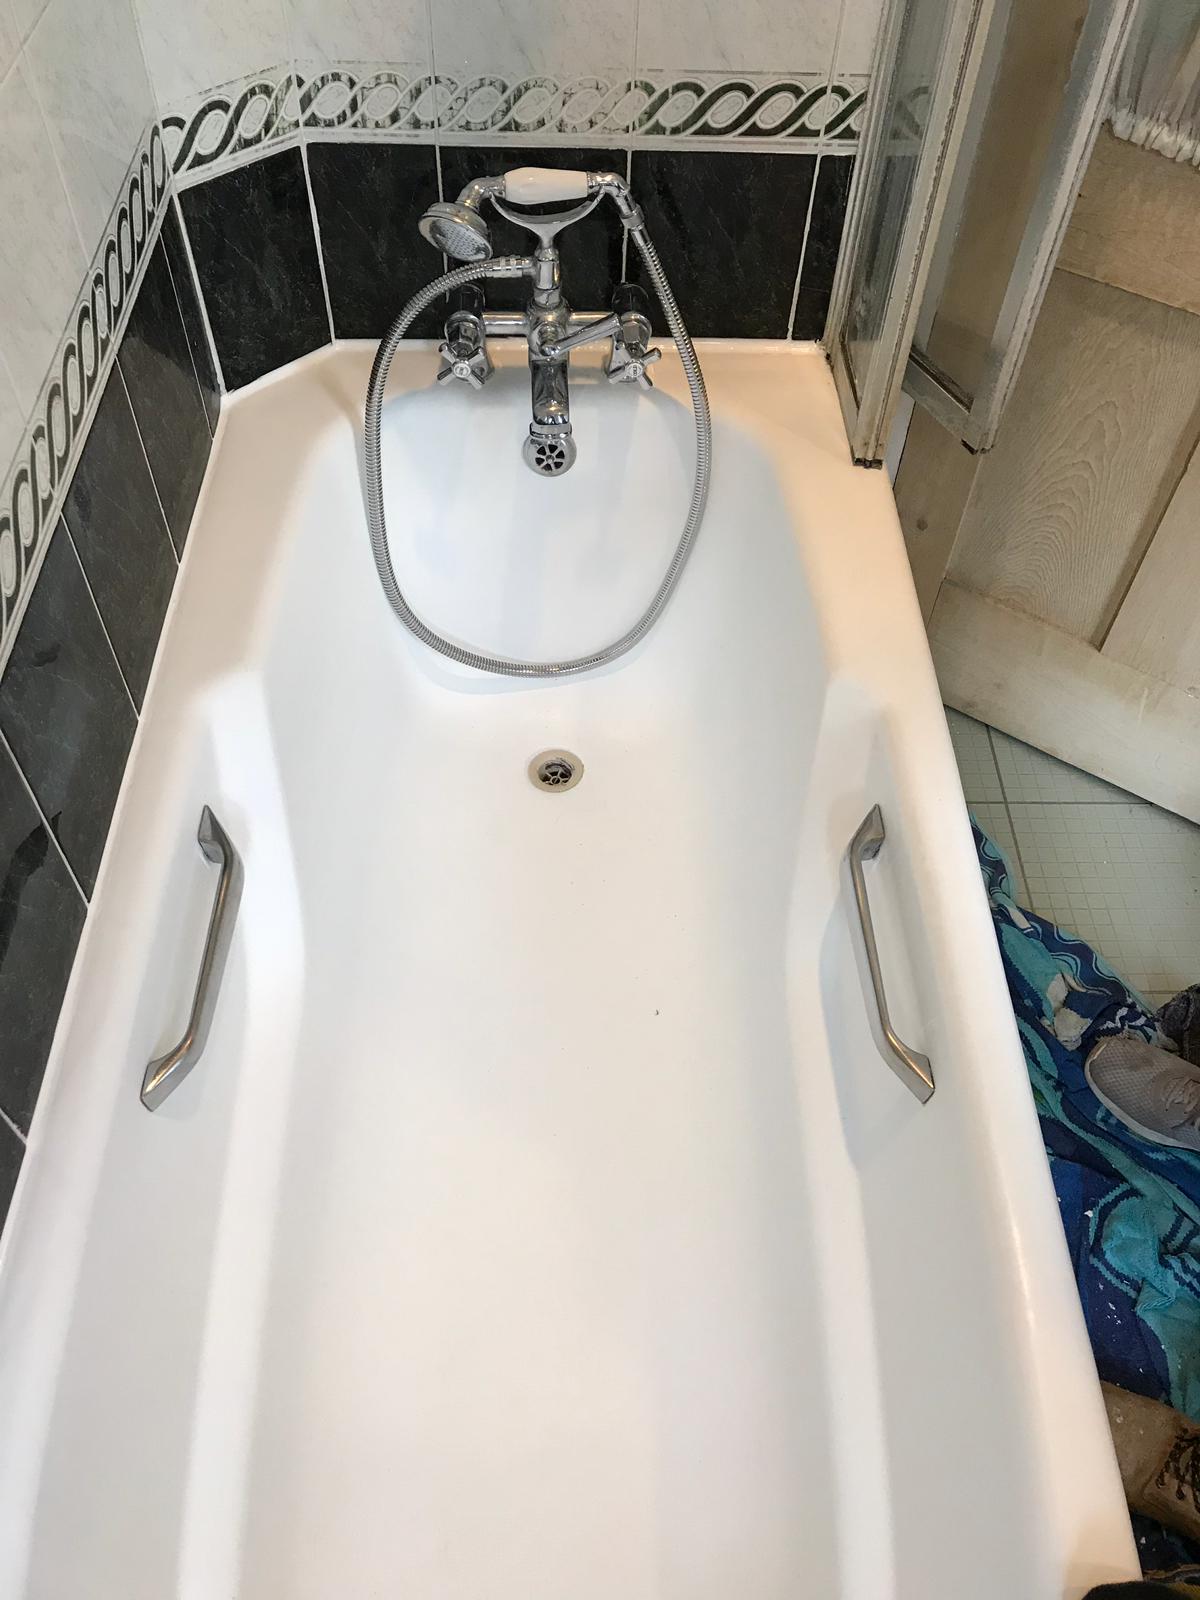
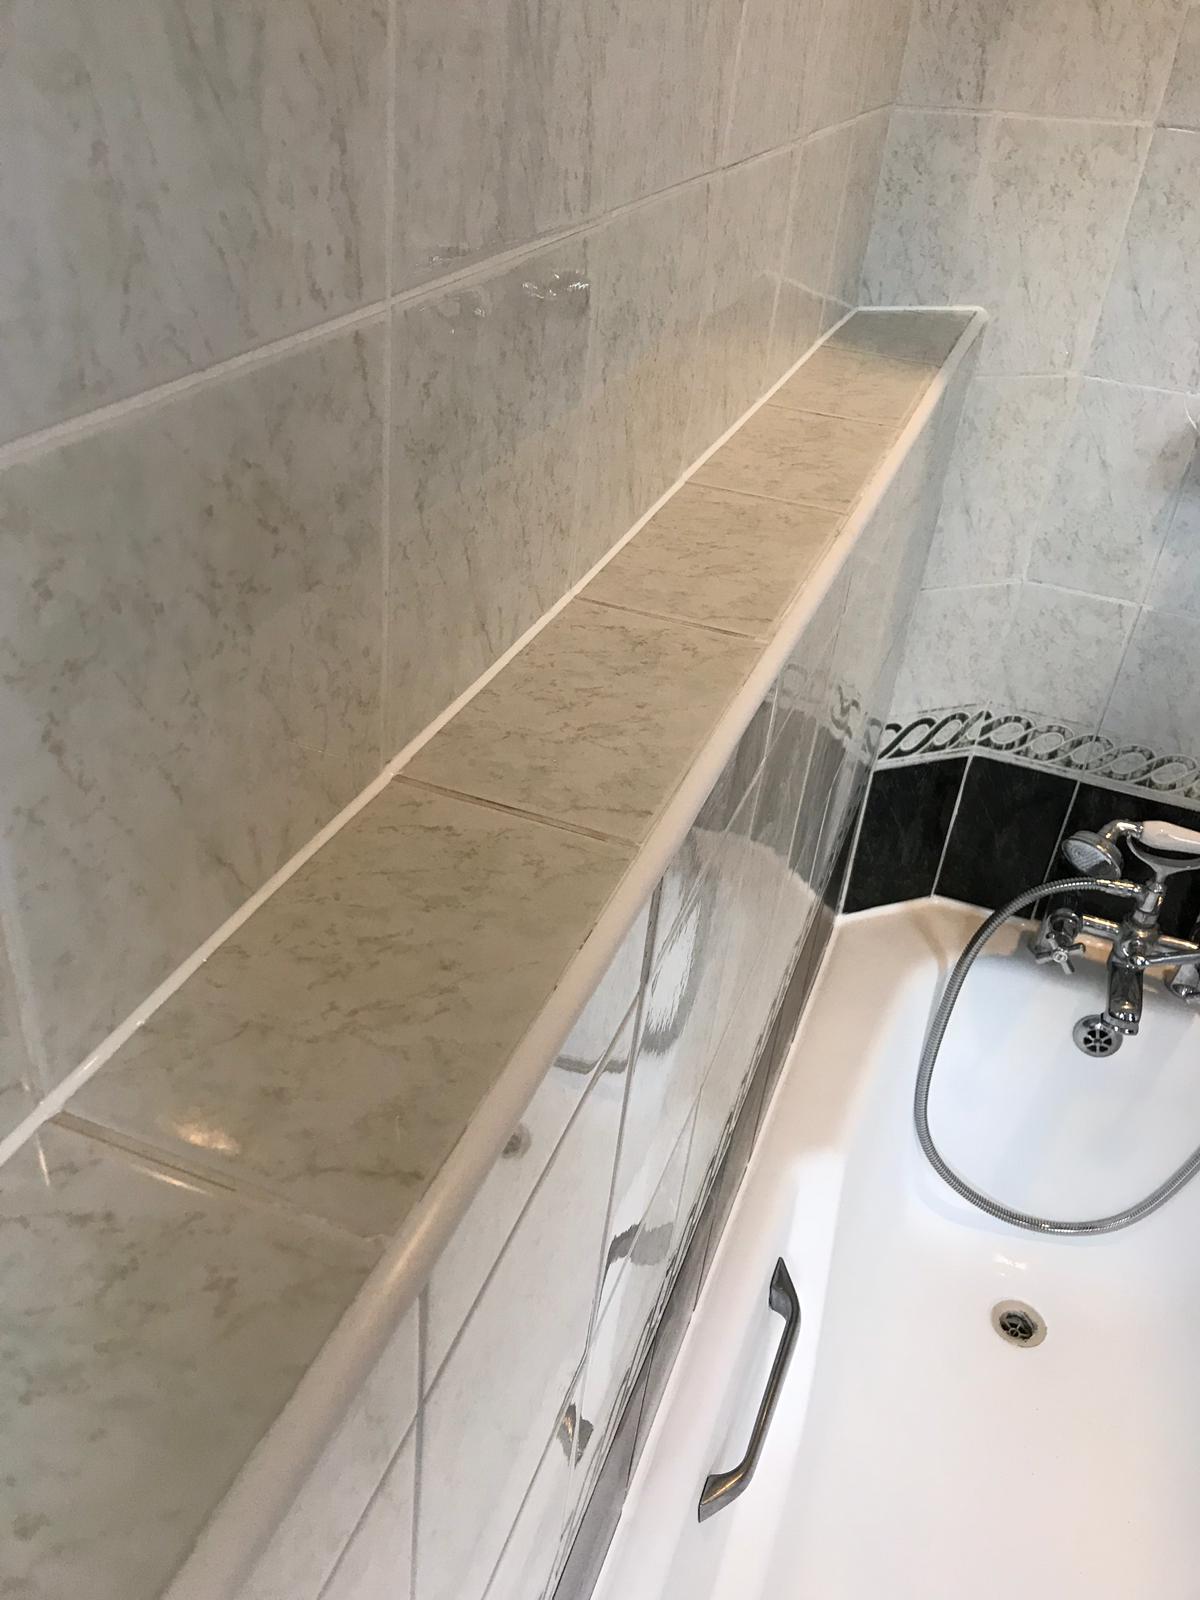
The photographs on this page were taken at a property in St. Albans, Hertfordshire or Verulamium as it was known in Roman times. St. Albans is roughly 20 miles north-west of central London and a popular choice for commuters who work in London. The owners were fed up with the discoloured grouting and their bathroom looking tired and had tried lots of products on the market to get the grout looking clean. The results had been disappointing, and they were starting to despair.

They contacted me to see if I could help and after visiting the property I recommended deep cleaning the Ceramic tile and grout and then removing and re-grouting those areas that were badly stained. I explained that this would take one day to complete and by using a series of products we would soon have the bathroom looking more pleasing. Happy with the quote which was far less expensive than installing a new bathroom I scheduled the work in for an agreed date.

Deep Cleaning and Re-grouting a Tiled Bathroom
We started out by preparing the area with protective sheets and tape to threshold edges. This was then followed by giving the tile and especially the grout a deep clean using Tile Doctor Oxy-Gel and aa steam cleaner to get the grout as clean as possible. Oxy-Gel is a strong alkaline gel cleaner and degreaser which works well on vertical surfaces where a long dwell time is required. Being a gel, it stays in place allowing it to really get to work on the dirt making it an ideal choice for this situation.
The top layer of grout is porous and, as a result, it easily absorbs grease, dirt and limescale. Grout between wall-tiles, particularly in damp areas like bathrooms, will become dirty and unattractive and if the ventilation is inadequate Mould and Mildew can develop. The grout was scrubbed with Oxy-Gel several times to get it as clean as possible and then rinsed off with water.
At this stage we were able to identify all those areas of grout that were badly stained and we set about carefully removing the old grout using a special tool. This work takes a bit of time, but we felt it was the best solution in this instance
Next, using a craft blade we carefully removed all the old silicone sealant, so it could be replaced later. This was followed by re-grouting using a white grout to match the existing.

Whilst the grout was drying the final step was to replace the silicone sealant around the bath edge with fresh sealant. We always use high quality mould resistant silicone for this as we don’t want any call backs later when the sealant goes mouldy or water leaks through.
After making some final checks and ensuing excess grout was polished off the tiles the bathroom transformation was complete. Even I was amazed at how much cleaner and tidier the bathroom now looked. The important thing was the customer who was equally impressed and left the following comment on our Tile Doctor feedback system.
‘Excellent and friendly service – would recommend to others’

Source: Ceramic Tile Cleaning and Bathroom Renovation Service in St.Albans
There are now more than 60 Tile Doctors operating throughout the UK and are able to help resolve any problem you have with your Tile, Stone or Grout, Internal or External. Call us today on 0345 512 0122 and ask us to help you with your problem large or small.